
Hello friends, my name is Ravi Gundal and today I will show you how to draw a nose step by step. If you want to draw a human face then you start with eyes and then nose. It’s look simple yet not easy to draw. So today I will show you the easiest way for how to draw a nose easy .
So before we start the nose drawing there are some tools you need and the tools arePaper
- Pencils
- Kneadable Eraser
- Flat Surface draw
- Smooth paper
- Blending stumps
If you don’t have blending stumps then you can use other tools I mentioned in my article different tools for blending
Now we start our drawing
Step 1 Draw two parallel lines according to your nose size
Draw a line on the paper according to your nose size and draw a second line parallel to the first one as shown in figure.You can use a image for nose drawing refference. This is the base for your simple nose drawing you are going to draw.

Step 2- Draw a circle for realistic nose drawing
Draw a circle at the end of the line. Use a light pencil to draw circle because it is very easy to erase when you draw it light otherwise it looks very messy at the end.

step 3 Draw the wing shape
Draw the wing shape of the nose as shown below. It is hard to draw for the beginners after some practice you can draw it very easily. So keep practicing.

Step 4- Erase the extra guidelines
Now erase the extra guide lines of circle because this circle is drawn only for the guidelines

Step 5-Start the shading
Now start the shading with the middle part. You can start from anywhere you want but I start shading with the middle part.

Step 6- Shade the nose completely
Shade the nose completely. Hold the pencil gently and start with the light pencil and then use darker. Don’t try to use a dark pencil directly. Add layer over layer of shading.

Step 7-Add more layer
Add one more layer of shading and use kneadable eraser to highlight the area. You can use simple eraser if you don’t have one. Work very slowly don’t try to make it faster.

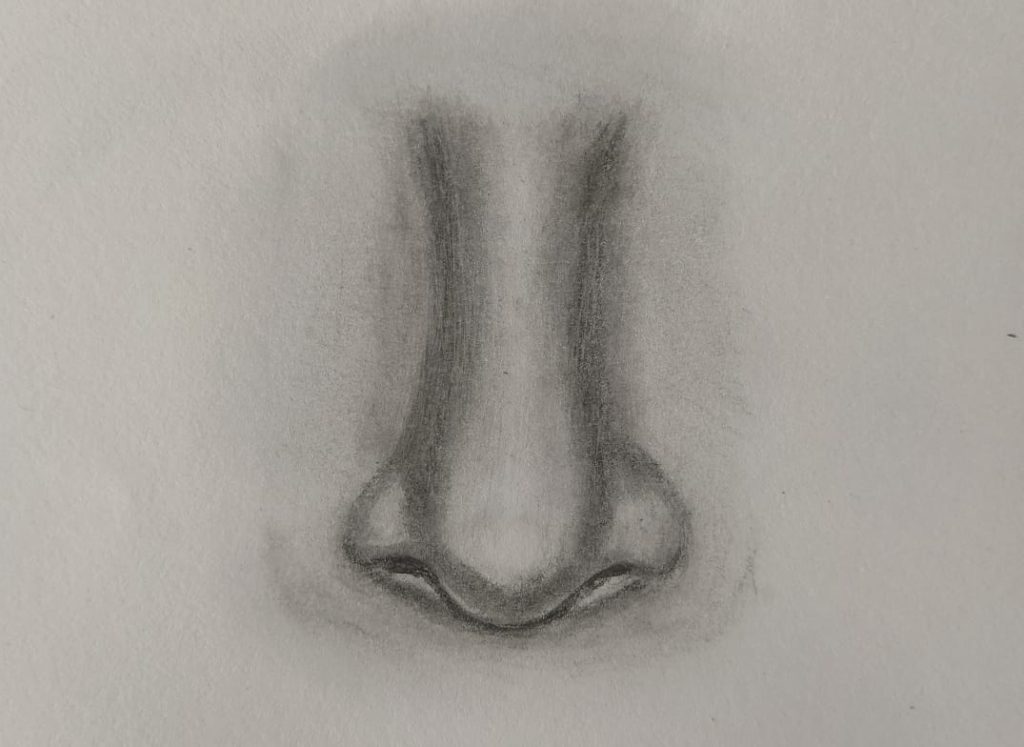
Step 8- Final touchups
Add an extra layer of shading with a drak pencil I am using here 9B. Use mono eraser to highlight the wing and add some more shading and more highlight and your drawing is completed.
This is a short tutorial on how to draw a nose for kids and this is my method to draw if you have any other then write down in the comments section below. Read more articles


Follow The Ravi arts for more tutorial. If you like my tutorial on how to draw a nose from the front then share it with your friends also
Thank you